Sailing: The art of getting wet and becoming ill while slowly going nowhere at great expense.

Friday, September 27, 2013

A Summer of Sailing


We have had a summer of sailing but no blog entries.  Having too much fun.   After getting the boat repaired and settled in and after a week long stay for sailing camp we looked for long weekends to maximize the time at the boat and minimize the impact of the long drive.  We had our first raft up in the beginning of the summer.  We are the short wooden stick on the far left in the picture.  We made it out for the 4th of July and made it 4 days.  We watched the fire works from the boat out on the river with friends.

The girls made it back out in early August for another week of sailing camp with the junior sailor gaining confidence and getting cocky up until the the head and boom made contact.  Opti's are great, safe  learning platforms.

Memorial day weekend found us back out for another overnight anchoring experience.  Lots of lessons learned.  Motor wouldn't start.  Left 2 hrs later than planed. Shredded the gennaker in a strong puff.   Did not make anchor by dark. Motor overheated. Anchored close to shore but still exposed if wind turned. Mosquitoes were stronger than the dying breeze. Ate a cold dinner huddled under mosquito netting. Went to bed in very hot conditions. Wind turned at night and cranked up to 15 kts.  Rough night on anchor.  Nobody slept.  Sailed off the anchor at 7:00 and arrived back at club by 1:00.  Great sailing down and back but a rough night. 52 nm sailed.  Upon arrival our Junior sailor wanted to go out on Opti.  There is hope.


We all gained a lot of experience and had some fun.  I culminated the summer with a couple of friends and a 2 day regatta in the cruising class.  The boat sailed very well and impressed everyone. The crew learned very quickly and we corrected over to win 4 out 5 races.  Not bad for a 44 year old girl with a 48 year old skipper who hasn't raced in 20 yrs.


This is what makes it all worth while.


Tuesday, June 18, 2013

Sail Camp

Our new Sailer in Action


I launched the repaired boat twice this past week.  After rehanging rudder and shearing off the rudder post bolt in the process, I got everything ready for a launch on Monday morning.  The girls went to sailing camp and I launched the boat with the plan to motor back to the club.  The boat was in the water and the stern tube fix was holding tight.  but water was pouring in from somewhere.


I crawled back to the rudder tube and could see a trickle coming up from behind some tabbing on the tube mounting box.  Damn!  When the rudder was broken there was obviously other damage that I could not detect since it was out of the water.  Back in the slings and back on the trailer.  I spent the rest of the day grinding out the failed tabbing and re-fiber-glassing the box back in.  Very uncomfortable.


Tuesday saw a low water day due to a wind tide that had me doubting if I could make the trip out through the narrow/shallow creek.  I decided to stay on the trailer and add another layer of glass.  Wednesday had the boat in the water and motoring home.  I tied up in my slip before ten and finally was able to help with sail camp.  The rest of the week was great at camp and sailing and relaxing.  Our new sailor was earning her stripes and gaining confidence in sailing, helming and capsizing.

Thursday, June 6, 2013

Rudder Done


The rudder has been all fixed, filled, faired and painted.  I over-drilled the head hole from the sloppy 1/4" to a new clean 5/16.  I will make a new SS pin out of a 5/15 bolt shank.  I will rehang everything on the weekend and be set for a Monday 8:00am launch.


A very large bottle opener.

Tuesday, June 4, 2013

Rudder Fix

Knowing that the rudder hung true I continued with the repairs.  I wrapped the assembly in 16 oz cloth and resin.  Then I cut strips of 6 oz woven cloth to wrap around like bandages.  When that set up, I cleaned with acetone and sanded again.  I then covered it all with a large piece of 6 oz cloth to give me the best surface to start fairing with.

When cured I added the first round of fairing compound.  I will sand that down and do another round today before the paint I ordered hopefully arrives tomorrow.  A day of curing then a couple coasts of Micron CSC.  She will be as good as new and ready to hang on the weekend.

I also plan on re-drilling the head with a larger pin to tighten up the tiller


.

Stern Tube

I was back at the boat in the yard this weekend.  Boat Yards are strange places with interesting people.  It is easy to see how the vagabond lifestyle can take hold.  I was there to work and I put in some hours to get everything done in the the 36 hours I had there.

First I pulled the propeller with a gear puller.  Not the perfect tool but it did work with a little persuasion hammer.  This allowed me to get the bearing tube off.  Once I took out the two screws if came off in my hand.  Any bedding had dissolved and as it turns out the tube connecting it to the other end had also broke at the coupling.  However I did learn that the indentations in the hull at the stern bearing housing were by design and they allowed water to into four ports on either side to lubricate the bearing.  Some were blocked and I re-drilled them open.

Now to get the other end out.  I ordered an inspection hatch that is roughly 18"x18".  I cut out a large opening in the cockpit well and took the common precautions to protect the core, which was solid and dry.  I sealed the edge in epoxy and over drilled and filled the mounting holes with thickened epoxy, re-drilling when the epoxy had set.  Through this opening I could now gain access to the tube and stuffing box.


This housing was similarly mounted into the deadwood however, all the fasteners had turned to dust and I could move it around with my hand.  A little wiggling and I extracted the entire assembly from the hole in the deadwood because all of the bedding had failed.  The rest of the time was spent cleaning out the area and grinding off bad spots.

I re drilled mounting holes and then set both sides (inside and out) in a bed of 4200 with an extra bead where the pipe had become separated.  Assembled and left to set up I went on to other tasks.  Before i set the pieces I took a lot of measurements and drawings of this assembly.  I think when I pull the boat in a couple of years I want to replace the whole assembly with a new cutlass bearing and stuffing box on a fiberglass stern tube.  The re-bedded sections will suffice for a couple of years of light duty.

I hung the rudder to make sure the repair was true and the tiller was still centered.  I then spent time grinding and sanding the rudder before wrapping the entire assembly in 16oz fiberglass cloth and letting it set up.  The rest of the afternoon was spent fine tuning the holes in the bimini assembly while all the bedding compound and epoxy set up.  I occasionally turned the propeller shaft to make sure I did not glue it in place.


Thursday, May 30, 2013

Rudder Fix

So after the heart ache of knowing that all of this rudder business could have been avoided if I had been more aware of what was going on at the lift, I got down to repairing it.  First I removed the rudder assembly from the boat.  The heal came off with no issues but the head was on a tapered rudder post.  It took some PB Blaster and a lot of hammering to get it free.  I brought it home and started to strip off the fiberglass to expose the cast bronze head fitting.  It was through bolted in 3 places with the nuts recessed into the rear of the wood rudder.   The slot was then sealed up with a resin/wood filler mixture.  Once all the bolts were extracted I could pull off the cast piece.

I could sight down and tell it was both bent and twisted.  I took the bend out with a hydraulic press.  This brought the piece half way back into true.  The twist was proving too difficult to get out and I was worried about breaking the cast piece.  I settled on making sure the head was square and true to the rudder and letting the tail twist off the 1/16th of an inch.  I set the piece in thickened epoxy and bolted and clamped it.


I will sand and fill where needed and fill the nut voids with thickened epoxy.  I will take it back to the boat this weekend to re-insert and allow me to square up the tiller.  The head has almost certainly moved as well and will need to be re-centered.  Once that is all done I will seal the wood and cover in fiber glass, fairing to a level finish ready for paint.  All that can happen at home again during the next week before i re-install for good the following weekend.  2 years ago this job would have terrified me.  Now, a little knowledge and a lot of epoxy goes along way.


Tuesday, May 28, 2013

Rudder Issue

Attached are photos of my now-in-need-of-repair rudder after a slip in the sling as the boat was being lifted out of the water for another issue.  I am including these photos here in hopes of finding an answer in how to repair the rudder mounted grudgen.  The lower part is fine as it is only a small post that pivots on the heel.  My question is how is this brass piece attached to the wood rudder which is covered by glass.  Before I start grinding I would like to know where, how much, etc.


Monday, May 13, 2013

Home Projects


How do you wash and dry a sail in the woods.......any way you can.  In the slim, sliver of open area at the house I was able to hang up the #2 between the flag pole and a tree to dry after a thorough wash.  I had only used the sail once in sunny conditions and put it away dry.  We came back to the boat 4 weeks later and it had mildewed throughout.  The other sail used in the same conditions and put away the same way, in the same bag, was fine.  I still can not explain it.  The locker it was in did leak while we were gone but the sail was not wet.  Why one sail and not the other?  I hand washed the sail with a very mild bleach solution.  I know they say that the bleach will eat away at the threads but realistically, it is a 25+ year sail.  I was only hoping to get a couple of years out of them any way.  I rinsed a lot, soaking the sail, and got most of the staining out.

The other project was bed extension pieces for the v-berth and and extension piece in the main salon.  I am making the boards and supports and the Admiral is sewing the covers.  This week I will also make the bimini extensions and support brackets.

Thursday, May 9, 2013

Raise it Up


Last weekend we discovered we could raise the sampan bimini about 8 inches and still clear the boom allowing the bimini to remain up while sailing.  It's intended purpose in life.  The easiest way to do that is to make extensions that will couple with the existing uprights.  My first thought was to make the pieces fit in between the upright and the radius.  The tube would be 1" OD and the insert would be about .875" dia.  The insert would need to be recessed into the tube about 2" and then rosett welds to hold in place.  A time  consuming process, so I am told.

My next plan was to put the extensions on the bottom of the uprights and that allows me to also switch tracks on how to make them.  I will take 1" SS round stock and just turn down the 1-1/4" insert piece.  It will be much heavier than the tube but it will now be the base of the structure so the strength of being solid here can help.  This is also something within my skill level.  I have a friend who is supplying the SS stock and we have plenty of Mills and Lathes at work.  This should only take me a couple of hours to complete.  It still won't give us standing head room but every little bit helps.

Wednesday, May 8, 2013

What is it Worth?


The one thing we did not get accomplished last weekend on the boat was......go sailing!  With all we had going on and the strength of the wind it just didn't seem prudent.  I also met with a canvas guy.  I sent him the above concept and asked him to price it out for my boat.  The thought being this investment would keep her looking better, longer.  Both for my own enjoyment but also for future resale. Keeping in mind our goal is to get to the boat once a month (3-4 days).  The rest of the month (27 days) she will not be used.  The quote came in today and I was shocked.  When will I learn.

The pro's and con's.

Pro - Will prevent the quick degradation of all the bright-work, we have a lot.
Pro - Will limit the amount of rain finding it's way into the boat.
Pro - Will radically limit the amount of clean up, touch-up and maintenance.
Pro - On my limited trips to the boat we can focus on fun and sailing.
Pro - Might reduce spiders and cobwebs, but might not.
Pro - Would be warmer in the winter.

Con - Very, expensive.
Con - Possibly trapping moisture under and in boat.
Con - Very, very expensive.
Con - Time needed to open and close the boat will increase dramatically.
Con - Very, very, very expensive.
Con - Greater wind resistance in a sudden storm.

Help me decide.  When I heard the cost I passed out.  When I came too, I began doing the mental checklist  listed above.  I am squarely stuck on the fence.

Boat Ratios

This past weekend we enjoyed 8 hours of driving for 40 hours on the boat. A 1:5 ratio.  Yet still very worth it and very productive.  I may start tracking this ratio if only to satisfy my anal tendencies.  Our next trip to the boat should render a 1:10.5 ratio.  Lets see how that plan works out.

On the list of what we did get accomplished:
1.)  Installed the new fuses for the battery banks and the charger.  The battery banks now have 225 Amp fuses on each.  It is not really required on the house bank for normal use but if I need to combine the banks for starting if the starter bank is low it needs to be protected.  The charger just required a 10 Amp fuse that I had neglected to put in.

2.) With a functioning engine we were able to move the boat to a new slip.  The 5 nights we spent in the old slip was pretty rocky with the prevailing winds.  That was never going to improve.  We were fortunate to be moved relatively quickly after requesting a new slip and were reassigned to the other side of the docks.  Luck was not on our side as the wind was coming in from a rare NE direction and blowing 15-20.  It made entering this new slip challenging as the correct lines were not in place yet and I still can't get this boat to go backwards.  The transmission goes into reverse but the boat just spins in a circle.  I had help on the boat and on the dock but it still took 4 attempts.  Not pretty.

3.) Installed and adjusted dock lines in new slip.

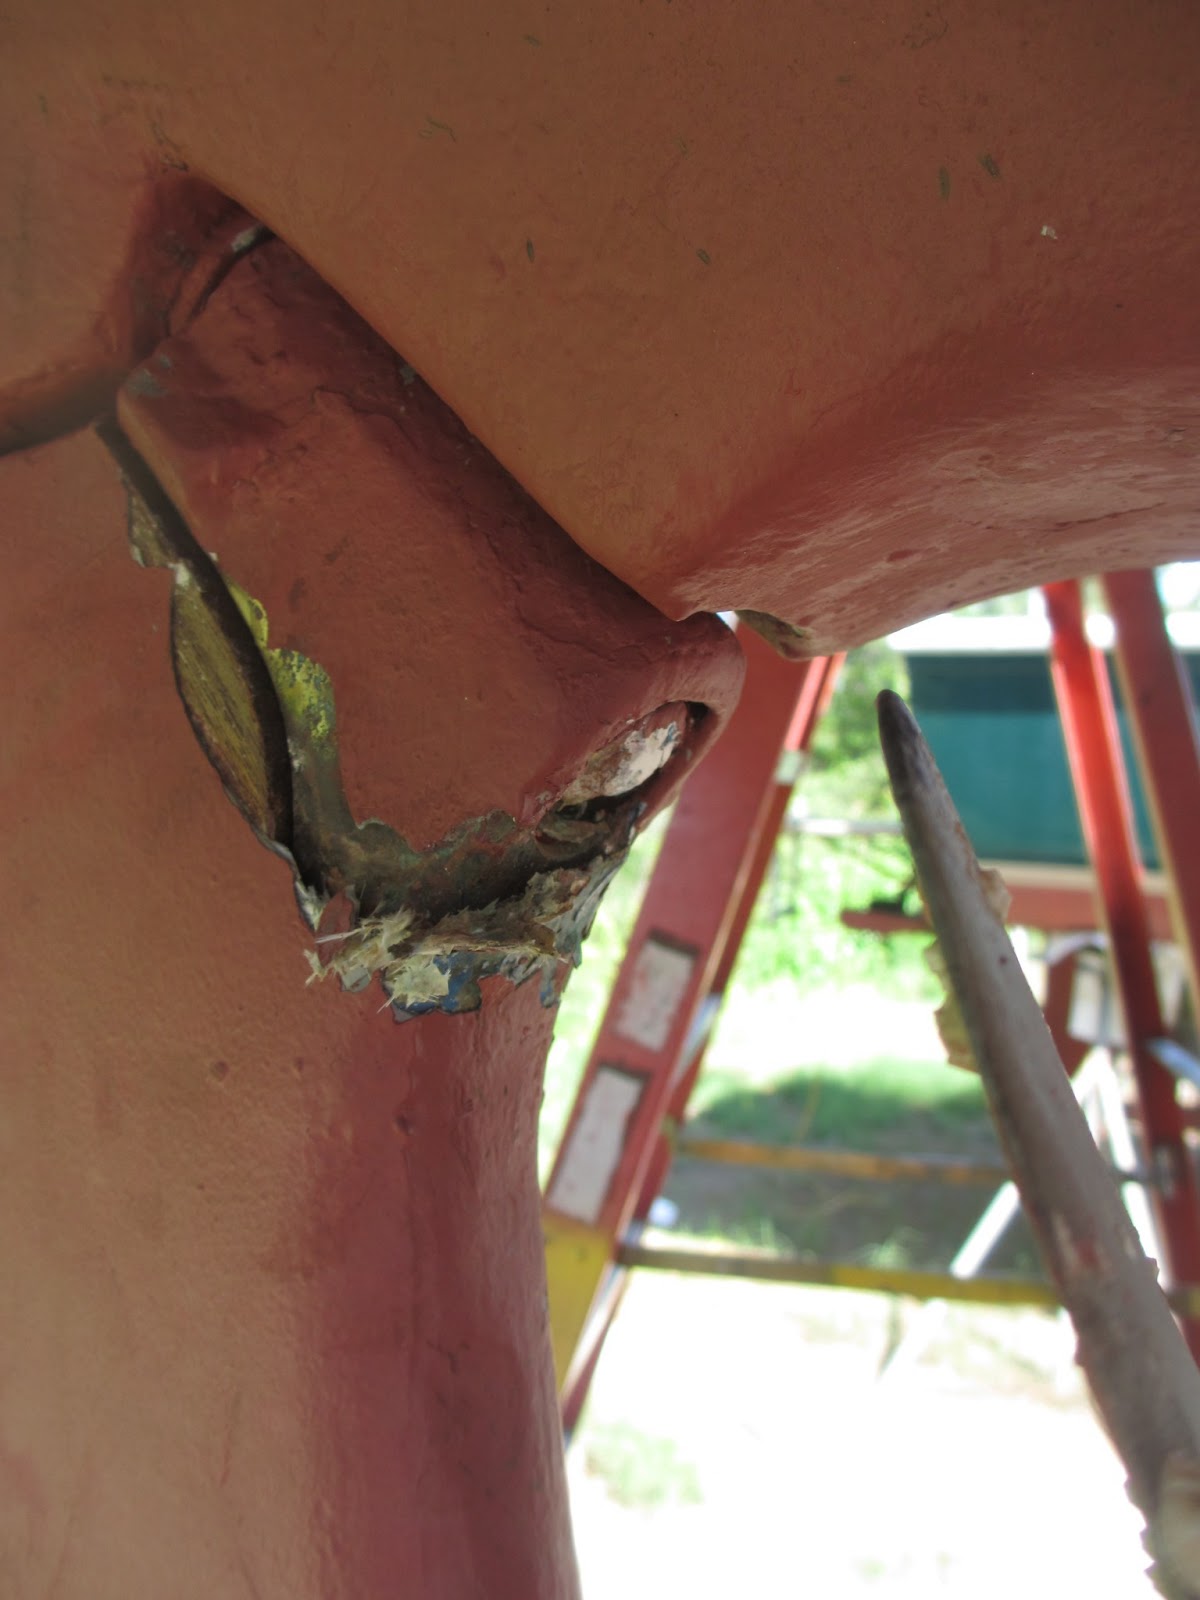
4.) I installed the new piece of seal-tite for the mast wires where they exit the mast and enter the cabin top.  This stuff will not kink and will not leak.

5.) Adjusted dock lines in new slip.

6.) I crimped on new wire ends for the mast head light and anchor light and made all the final connections on the split block.  I ran the VHF antennae cable all the way to the radio and installed the final connecting piece.  I was not able to solder the shield wires to the housing and I am not getting a strong signal.  I will solder properly next time with better equipment.  At dusk I checked the mast head light which worked fine but the anchor light appeared to not be working.  After a little discussion it was agreed that it is really hard to see the anchor light when standing below it.  I went back to the boat to try again with someone on shore with a better angle to see the light.  Turns out it was working and working very well.  Very Bright.  I left it on for a couple of hours to revel in my success until two other people told me I left my anchor light on.

7.) Adjusted dock lines in new slip.

8.) We installed the sampan bimini mounts and poles and strung the old cover across so we could take some measurements.  I jacked up the boom as high as it would go and propped it up with a screw driver.  I raised the topping lift and figured we had about 8 inches to gain in the height.  With the top on we could extend the leading edge, if we installed another support, about 9 inches.  I will fabricate the 4 extension pieces and the Admiral can sew a new top.  That should get us by for a year or two.

9.) Adjusted dock lines in new slip.

10. I installed the drip tray/support I had fabricated to hold the AC unit in place.  The unit fit in perfectly and even though it was cool and windy I ran it for an hour.  It took a while for the compressor to come on but did cool down to 66.  It was relatively quite and I think will work very well.  I just need to add a strap over the top to make sure it stays in place.

11.) Adjusted dock lines in new slip.

12.) We temporarily installed the new bed piece that converts the two settee bunks (parallel)  into a twin bed for two (perpendicular).  After a nights sleep, some minor refinements were suggested, so the pieces were brought back home to be added too and the foam cover to be made.  It will add 6 inches to one side and all will be right with the world....on one side.

13.) Adjusted dock lines in new slip.

14.) Buoyed by the success of this bed piece a template was made for a insert into the v-berth to fill in the void.  Construction will be the same and a cushion added to the top.  Lots of work to do at home before we head back to the boat in just over two weeks.

15.) And just before we left to come home.....Adjusted dock lines in new slip.

Monday, April 22, 2013

Long Distance Romance

I never thought it would be this hard to be so far away from the boat.  The time between visits is getting painfully long.  I have gotten over the fear that she is still afloat.  I am assuming someone would call if she had sunk to the gunnels. Now the frustration is having a list of things to do in abstentia that I know could be better if she was 100' away. We are supposed to go down to the boat in a couple of weeks and I know the girls would be disappointed to drive all that way and not sail, but i could spend 2 days just tweaking all the things on my list.

At the top of the list is re-plumbing all of the mast wires through the deck.  The temp hose is all kinked.  I now have a piece of seal-tite that will work and not kink.  Then I need to make all the final electrical connections for the mast lights.  I also need to make the antennae wire connection which involves soldering the final pin connector.

I am having a drip pan fabricated (above my skill level) to hold and drain the window AC unit that we will use for cooling at the dock.  I made some brackets for a new bed piece that we came up with last time we were there.  This piece will bridge over the aisle between the two side berths and allow us to sleep across the aisle together instead of separate on each side.  Two aluminum supports that will hang over the trim and support a piece of plywood that will hold a 4" foam cushion that ends up creating a bed that is 36"w and 7' long; about the size of a twin bed. Cozy.

The other project I have been working on is a sun shade for the cockpit.  I have an old canvas sunshade that was designed to be used when anchored.  It is a large piece of fabric with internal support from PVC pipe strung across the boom and is tied off along the life lines.  In a calm anchorage or at the dock this would work well.  What we really need is a Bimini.  A more structural sun shade that can be used while sailing.  The boat came with an original Sampan Taxi type cover.  It is very sturdy, small, low and dated.  However, it will do for this first season.  The issue is the low boom height and the end sheeting on this low boom.  It doesn't lend it's self to a nice large open bimini and has to be short off the back end and low enough to clear the boom.

I began by re-polishing all the SS supports and brackets (before and after).  Next, we will install as is and take some measurements.  I think it can be improved in two main areas.  First in the height, I think we can raise the structure 8" by permanently raising the end of the boom attached to the mast.  The goose neck is in a slotted track that allows the boom to raise up when the mainsail is set to it's full height.  The end off the boom is controlled by the topping lift.  I would like to fill the track and keep the boom at it's full height.  If this works I can have extension pieces made to raise the top of the bimini cover.  Second, is the size.  The width is set and the length on the back is dictated by the end sheeting.  However, I think there is room to extend forward on the cover.  With the additional height, it may be possible to extend the cover 12 inches further forward   Since a new piece would need to be sewn to replace the old one extending it would not represent a problem.


  See how much easier all this would be if we ere closer together


Friday, April 5, 2013

What's in a Name?


People always ask me what is the name of our vessel.  To make a long story short, we restored her original name from 1969; AQUARIUS.  However, we spelled it phonetically, əkwâr`ēəs,  which is now confusing everyone.  We did that not to be difficult, just to be different   Here is the long form of the de-naming and re-naming ceremony we used to make everything good with Neptune.  Feel free to plagiarize as much as you like.  We did.


DENAMING

"In the name of all who have sailed aboard this ship in the past, and in the name of all who may sail aboard her in the future, we invoke the ancient gods of the wind and the sea to favor us with their blessing today.”

Oh mighty Neptune, great ruler of the seas and oceans, to whom all ships and we who venture upon your vast domain are required to pay homage, implore you in your graciousness to expunge for all time from your records and recollection the name (Oriental Butler) which has ceased to be an entity in your kingdom. As proof thereof, we submit this ingot bearing her name to be corrupted through your powers and forever be purged from the sea. (At this point, the metal tag with the old name is dropped from the bow of the boat into the sea.)

In grateful acknowledgment of your munificence and dispensation, we offer these libations to your majesty and your court. (Pour at least half of the bottle of Champagne into the sea from East to West.)

RENAMING

Oh mighty Neptune, great ruler of the seas and oceans, to whom all ships and we who venture upon your vast domain are required to pay homage, we implore you in your graciousness to take unto your records and recollection this worthy vessel hereafter and for all time known as  əkwâr`ēəs, guarding her with your mighty arm and trident and ensuring her of safe and rapid passage throughout her journeys within your realm.

In appreciation of your munificence, dispensation and in honor of your greatness, we offer these libations to your majesty and your court. (At this point, one bottle of Champagne, less one glass for the master and one glass for the mate are poured into the sea from West to East.)

The next step in the renaming ceremony is to appease the gods of the winds. This will assure you of fair winds and smooth seas. Because the four winds are brothers, it is permissible to invoke them all at the same time, however, during the ceremony; you should address each by name.

Oh mighty rulers of the winds, through whose power our frail vessels traverse the wild and faceless deep, we implore you to grant this worthy vessel əkwâr`ēəs, the benefits and pleasures of your bounty, ensuring us of your gentle ministration according to our needs.

(Facing north, pour a generous libation of Champagne into a Champagne flute and fling to the North as you intone:) Great Boreas, exalted ruler of the North Wind, grant us permission to use your mighty powers in the pursuit of our lawful endeavors, ever sparing us the overwhelming scourge of your frigid breath.

(Facing west, pour the same amount of Champagne and fling to the West while intoning:) Great Zephyrus, exalted ruler of the West Wind, grant us permission to use your mighty powers in the pursuit of our lawful endeavors, ever sparing us the overwhelming scourge of your wild breath.

(Facing east, repeat and fling to the East.) Great Eurus, exalted ruler of the East Wind, grant us permission to use your mighty powers in the pursuit of our lawful endeavors, ever sparing us the overwhelming scourge of your mighty breath.

(Facing south, repeat, flinging to the South.) Great Notus, exalted ruler of the South Wind, grant us permission to use your mighty powers in the pursuit of our lawful endeavors, ever sparing us the overwhelming scourge of your scalding breath.

Thursday, April 4, 2013

Two in a Row

Tuesday dawned beautifully.  The best nights sleep we had all week.  The wind was from the North at night and remained that way all day so we slept a lot better. The hobby horses took the night off.  Time to sail again.  This time with the dog.  All were on board, and everything ready, including new shorter spring lines on either side rail.  Go to start the trusty Yanmar, once, twice, tried but no luck.  Third try ........nothing.  Hmmm.  Switch the battery combiner to both banks.  Try again and turning over but not starting.  Then a bulb in my head goes off.  I check the Engine Stop cable.  Yep, still pulled out an inch; pushed it all the way down.  Starts up this time but why no starter battery??  Should we go or stay in and figure this out. I couldn't remember if I can leave on combine or should I switch back to charge the starter battery?  It could be an all day project.  Lets go sail instead!  If she doesn't start on the way in we will sail back into the slip.  Everyone should do this at least once to refine the skill.  Just hadn't planned on it being my second day out.


Had a wonderful sail in 10 - 15 Kts and headed down the river this time.  The First Mate took the helm again for the downwind portion and exhibited much better control asking questions all the way.  The dog slept peacefully on the cockpit floor wearing a white T-shirt to keep the sun off.  The wind died again after 10 minutes but then built up nicely to stay above 10 all the way.  On the upwind beat back to the creek we saw 6.3 knots on the speed log.  There must have been some current in there as our hull speed is only 6.1.


We made it up to the harbor entrance and had the same issue with the main sticking at the top.  Got everything down and the motor started.  We arrived back in the slip with less effort than the day before, made easier by the shorter spring lines.  With everyone off the boat I began researching my battery/starter issues.  I put a meter on the starter battery and had 12.77v.  More than enough to start the motor.  I put the switch back to Combine and tried to start the motor.  Two clicks and then dead.  I go down below and the entire panel is dead.  Oh no, what did I do.

I empty out all the lockers and start checking wires, connectors and fuses.  The two fuses protecting both battery banks (starter and house) are blown.  They are 125 Amp fuses.  Is there some kind of short blowing these fuses or are they just not big enough to start with.  Come to think of it, how did I determine 125 Amp was enough in the first place?  A little google later I determined the loads on the cranking of the diesel are indeed greater. I am able to only locate one 250 Amp fuse in town and decide to go and get it to verify this is indeed the problem.  Wondering for the next 3 weeks before I get a chance to come back down to the boat was not going to work for me.  The new fuse does work of course and no apparent damage is done.


Sailing Yet?...........Yep


After a very restless night the wind had calmed and the water intake had been reduced on the leaking stuffing box.  As soon as the girls left the boat to get breakfast at the club house I was upside down in the starboard lazzerette with two pipe wrenches.  After much struggle and wriggling around I was able to get into a position that gave me enough leverage to break free the locking nut on the stuffing box.  I tightened down the box ring and the leak stopped.  The rudder still moved freely so I tightened up the locking nut and congratulated myself.  Now all I had to do was extricate myself from this position.  I should have brought the cell phone down here with me in case this didn't go well. It took a while and I could tell I was going to have some bruises in the morning.  As I got out and stood up the girls came up to the boat in a panic wanting to know where all the blood on my head was coming from.  "Beats me, I just got here myself."  It appears I cut my head on the fiberglass while upside down.  No biggie, I had just single handily saved my boat from sinking.  It is appropriate that a little blood be shed during such an occasion.


Time to sail.  This first trip out would be without the dog.  An extra body one the first outing would be more than I could handle.  Luckily a club member volunteered to watch him for a couple hours.  The most stressful part of any sail is the leaving or returning to the slip.  I reviewed the operation carefully with my crew and when everyone was ready we started the motor and back out of the slip.  We motored away from the docks and entered the creek proper heading out to the Nuese River.  The winds were light, forecasted to be 5-10 kts., SW.  We motor sailed out to the main river giving an education along the way about the navigational aids and markers.  What the colors meant, numbers, etc.   We made it out t to the river and shut off the motor in a light breeze.  We were finally SAILING!


Of course the wind died five minutes later but we were out there.  The wind filled back in about 30 minutes later and we had some good upwind sailing. We topped out at 5.4 kts boat speed.  The First Mate was excited and held up her fingers to convey the top speed.  Being sensitive to our dog watcher we did not go too far up river and turned to run downwind back to the club.  The First Mate took over the tiller and did a good job holding here on a relative course and helped by identifying the markers with her super human 10 year old eyes.  We made it back to the entrance and began to douse the sails.  the main hung up at the top on the 2nd or third clip on the track.  A little jerking and pulling until it broke loose.  A big sigh of relief.  We cleaned up the sails and lines and motored back into the harbor   My first re-entry to the slip was not pretty.  A little too hot.  Our dog watcher was there to help and hold us off while I checked the engine at reverse full.  That worked and we stopped.  The fault was mine.  I was too busy trying to grab the long spring lines to hand off and did not realize our drift speed was still high. I plan on shorter spring lines to make this job easier for all concerned.  Maiden sailing voyage successful.  I had an extra ration of Grog that night.