Sailing: The art of getting wet and becoming ill while slowly going nowhere at great expense.

Tuesday, May 31, 2011

Final Paint


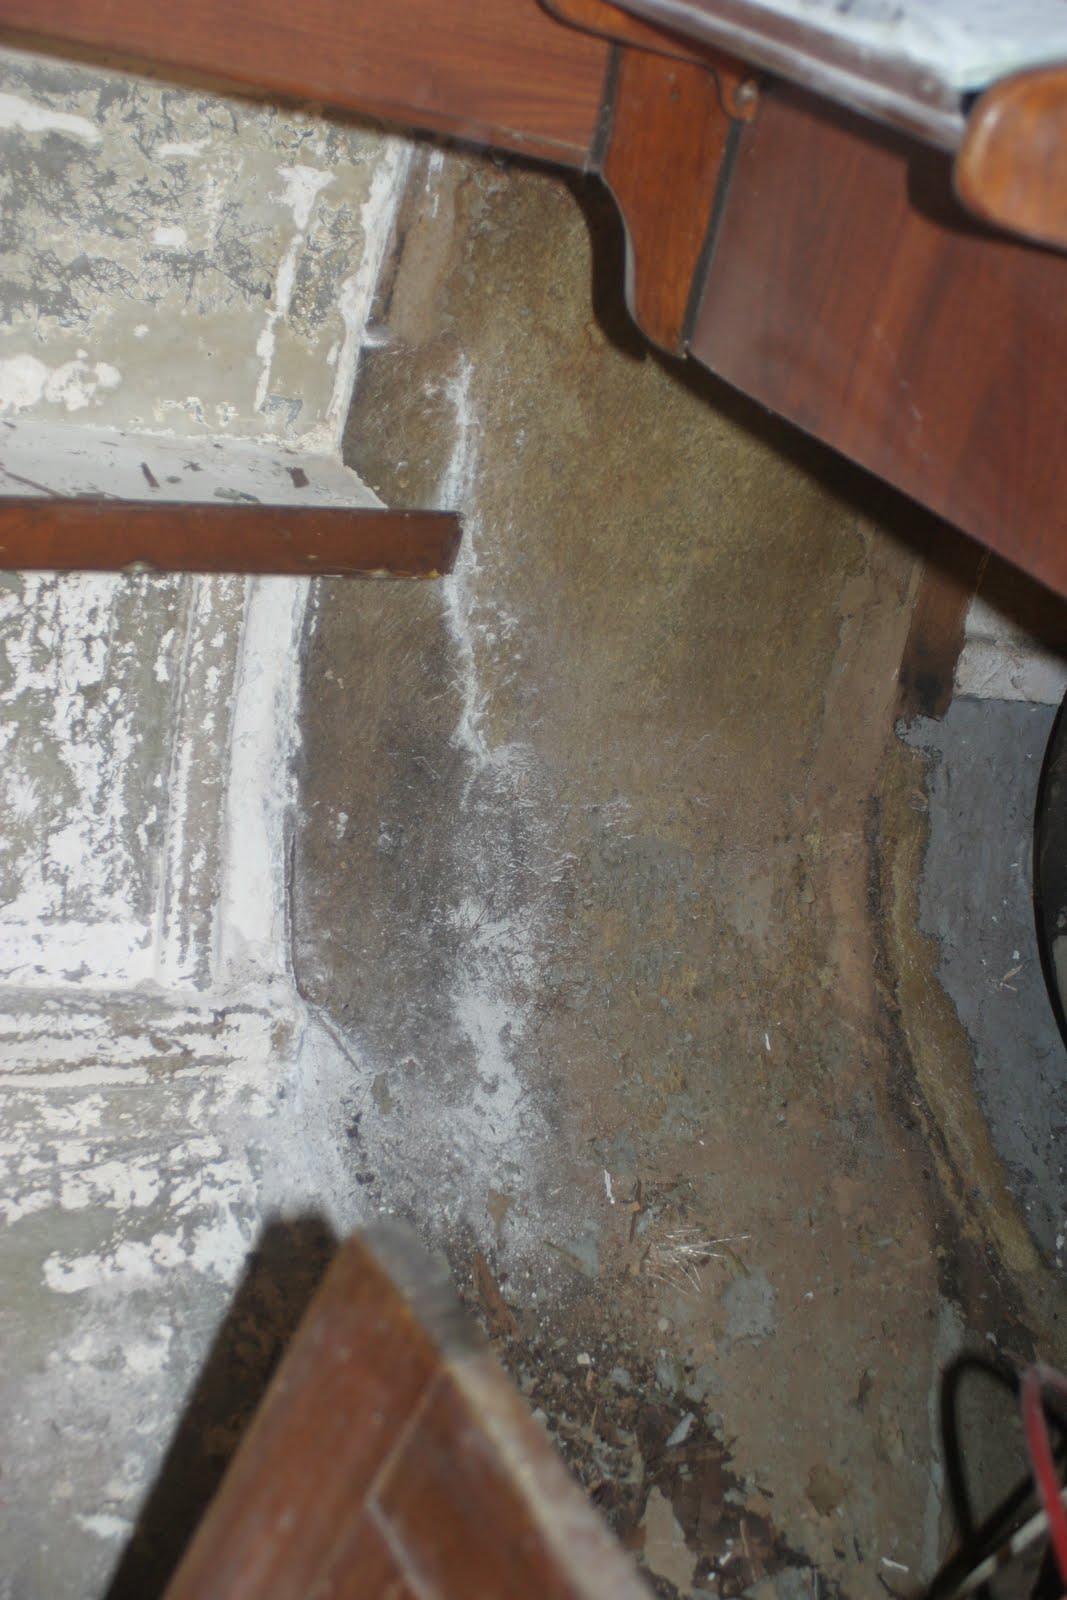
The final applications of non-skid paint on the port and starboard sides and the the entire bow area. I think I will ad some around the mast area at a later date but want to see where that will go based on activity around the mast. I will let everything cure for a week or two. This is a huge milestone that closes the chapter on an entire redeck and recore. This boat used to be covered in teak decking which was attached with 2,000 screws. This allowed water to migrate down into the core that is sandwiched between the two layers of fiberglass and provide strength without too much weight. My deck after sitting under cover for a year had dried out enough for me to realize I had a very spongy deck which I almost put my foot through. Very bad.

The entire deck had to be removed. With all the teak gone, the thought was to inject epoxy into the 2000 little holes and let it stiffen back up. This would add a lot of weight up high but I didn't think it would be that bad. After the first $100 worth of epoxy was injected and I had only covered a 2 square foot area, this was proving to be a bad plan. A little research indicated the only way to do the job properly was to cut the entire top layer of fiberglass, 1/4" thick, off. This then exposes the core and it can be removed. This I did saving the skins to relaminate back on. The core was just mush and I relized that injecting all the epoxy I could afford would not have fixed the problem. New end grain balsa was set in with epoxy then the top skins were set back on with thickened epoxy and held down with weights.
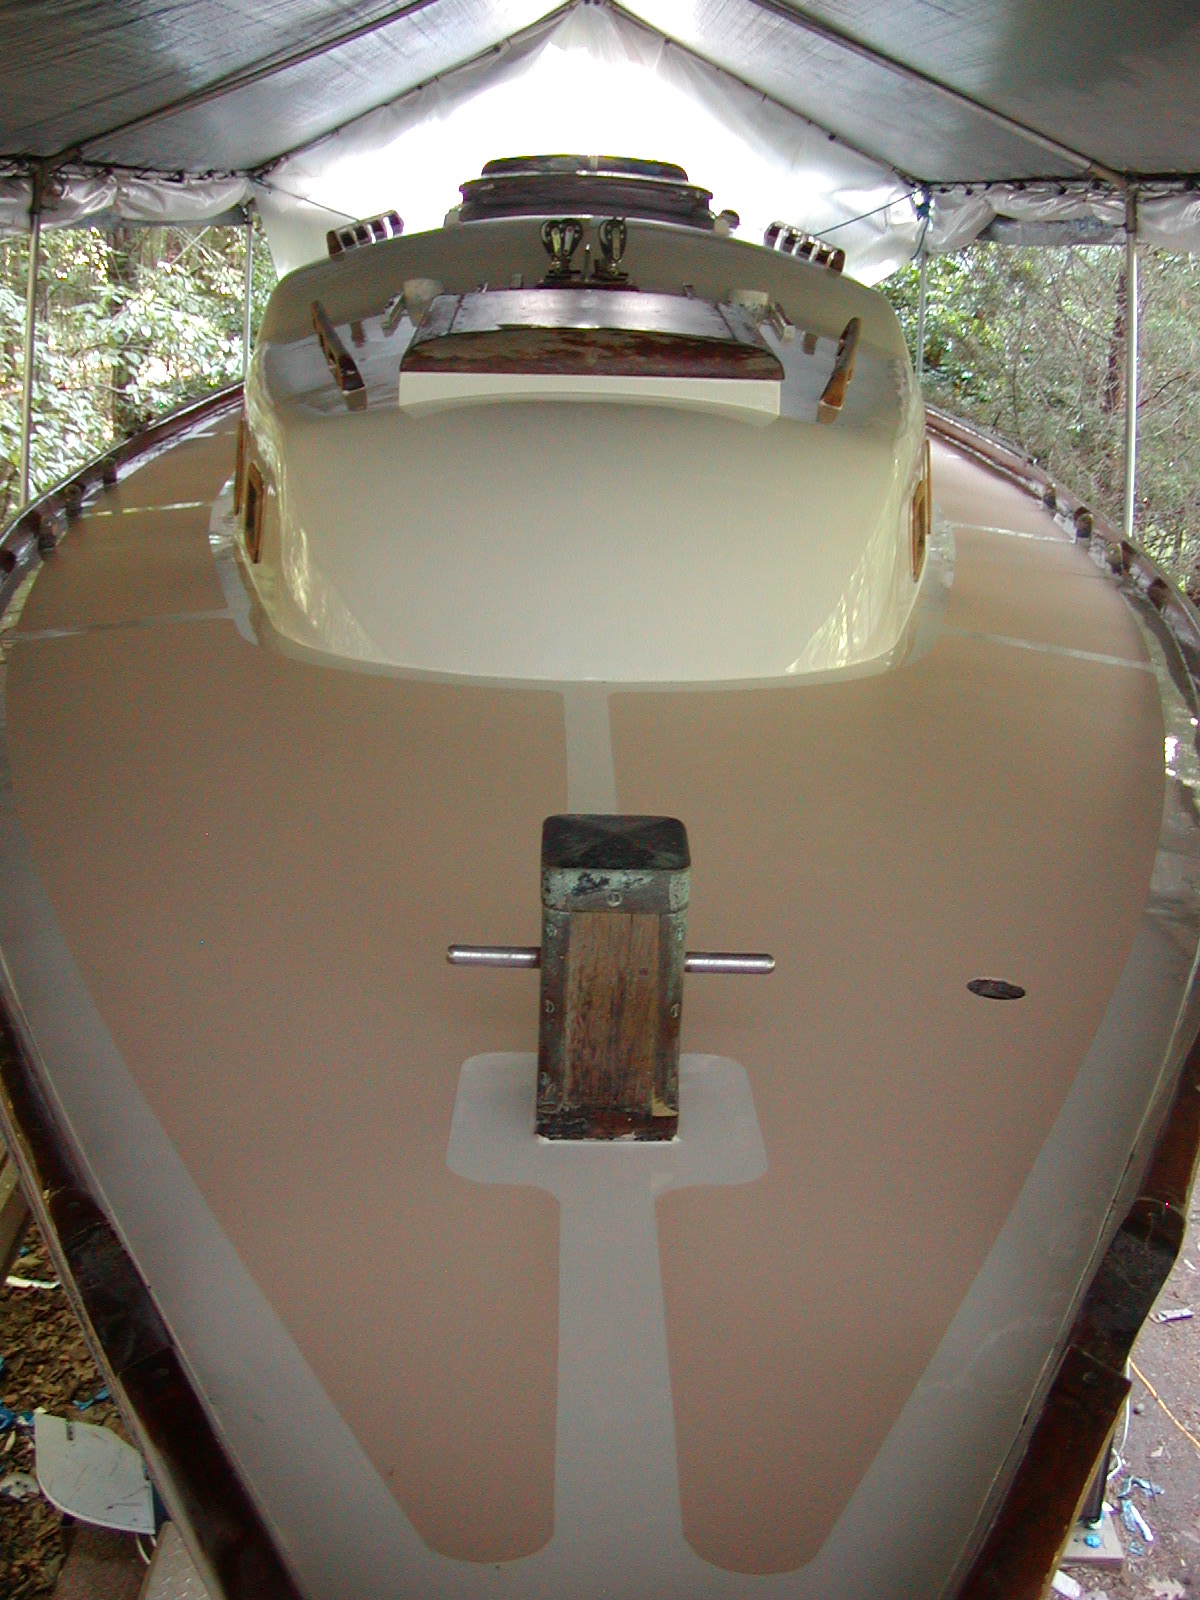
There were still some voids that were filled from the top by injecting epoxy into old and new holes and lots of sounding with a hammer to make sure everything was solid. Then the seam where the fiberglass skin rejoined had to ground out and widened then infilled with fiberglass and epoxy layers to strengthen the joint. Then the fairing and filling started all around. This took the longest time (2 years) as it is very labor intensive and very boring. You can never really be done with this part as there are always areas that could be better. Then finally it is prime, sand, wash three times, paint 3 times, then mask and paint the non-skid. Looking back over the pictures it looks a lot easier than it was. Going to take a break and then go back to work on interior. Have 3 more bulkheads to replace then paint the insides and bilges.

Monday, May 23, 2011

Painting Curve


The learning curve for painting with a single part LPU paint is vertical to say the
least. There is no correct formula for how much brushing liquid (thinner) to add for the roll and tip method. It is based on temperature, viscosity, humidity and which way you hold your tongue when mixing. My experiments on a piece of glass looked perfect. The first application on the primed boat was a disaster.

I sanded the entire thing off the next day and restarted all my testing and mixing. I kept a better watch on the temp and humidity. A better job of washing, dewaxing and cleaning. The next time I was faster, being able to keep a wet edge was a challenge when doing it all by myself. The first coat has some runs and misses but was brought back into compliance with a light sanding before the second coat. This is where I wish I had not used the gray primer. Covering in white would be tough. Sand, wash, repeat. Final wash with acetone and then an additional round with the tack cloth. The second coat went on better than the first after a couple of scary areas were immediately redone while still wet.

The next day it looked pretty good and the tape was removed ready for the application of the tape for the deck surface areas to be masked. Cleaned, washed, tacked, etc. Then two days of deck painting, trying not to drip sweat on the surfaces. Finally with all the tape removed and it looked like I had graduated LPU school.

No, it is not perfect, yes there are a couple of runs in out of the way places and some mysterious fish eyes. But it looks great from 5 feet away and a looks like a 10K paint job from 10 feet away. I will finish up this weekend filling in the non skid areas with a tan colored Interdeck mixture.

Preping the Prep


With all the gear removed from the deck and cabin top, there was no soaked core but still some minor crushing. All of the holes have been filled and the low spots faired out. Lots of sanding, taping and cleaning, washing, sanding, fairing, washing, etc.


First of 2 coats of high build primmer were pretty much sanded off, washed, sanded, washed, etc. The third coat has become the base for the new paint. It feels smooth but each time I go over it I find something else. When you put on the primer it is glossy and the imperfections are evident. After it has dried it is a more matt finish and the errors are less visible, making it harder to go back and find and repair. Very dirty work using the gray colored primer.

Friday, March 25, 2011

Strip her down


The removal of the deck hardware with before and after photos has begun. I am removing everything that i can easily remove that is screwed or through bolted with the exception of the grab rails (4) and the window trims (10). The only reason is there is no finish left on the teak so I think I can hand sand and refinish in place. There is no evidence of any leaks or cabin top damage. The bolts are all concealed by a 1/4" cabin top liner that is bonded to the top. It would create a lot more repairs to the interior cabin. The bad thing is I will have to paint around them.
All of the holes have been enlarged and filled with thickened epoxy, faired and need to be sanded out.

Wednesday, March 23, 2011

Construction Destruction


I have continued the deconstruction of the interior and the stripping and sanding. The starboard side of the engine compartment is gone. The ice box is gone and both bulkheads that surrounded it. The manual bilge pump is removed and being rebuilt. The head compartment has had the bulkheads reinforced and a cherry plywood veneer has been installed. All new tabbing installed with radius fillets. More fillets and tabbing to do on the port side locker and galley bulkheads. Switching to the outside decks now that it has warmed up with plans to take time off over Easter to prime and paint decks. Lots of sanding and prep work, sand, wash, sand, wash. Hopefully finish up port side and bow this weekend then switch scaffold to starboard side and stern.

Tuesday, February 8, 2011

No Wind in Her Sails

Yet......There is hope. The time, ability and desire have surfaced in the boat project. To date: The deck has been re-cored and mainly faired. Some touch up before priming for paint. The Toe rail has been re-varnished, all the other teak removed and sanded ready for varnish. The mast has been re-varnished. That was all in the Fall.

Over the winter I have attacked the interior and made progress and made more work. I have continued to strip/scrape/sand all of the interior. I have re-laminated the furring strips back onto the interior of the hull. I have removed and sand blasted the fuel tank but still need to wash out the inside. I have removed the water tank and need to sand blast. I have removed every piece from the interior getting ready to paint. Scraped and sanded the bilge ready for paint. Identified the thru-hulls I can abandon and fill. Identified all the bulkheads that need replacement. Most I will re-laminate with 1/4" plywood and re-attache. The Starboard side of the Engine compartment needs replacing. I have marine grade plywood for that. Stripped all the paint and fiberglass off the chain-plates. My goal this spring is to get the inside back together, painted and cleaned.

Then the major work will begin on finishing the deck, painting, sanding and varnishing the cockpit teak coaming, fixing all the cockpit seats and lockers and putting engine fuel system back together and if I get a great burst of energy, launch in the fall but most probably the spring. Good Luck.

Monday, April 26, 2010

The beginning of The Plan

My year to take some time off racing and spend more time on the boat has really let me down. my hours on the boat have dwindled with all the stuff going on at work and home. I spend most of my extra free time running when I should be working on boat stuff. I have the mast 3/4 way stripped, then spent the last 6 weekends fixing up the house for company coming and a party; which now looks like it will be canceled.

The running is coming along nicely if i am not too hard on my neuroma. We have a Plan to do a major run in November. To train for that I have been looking at other runs and Ultras. I will do the Grand Father Mountain Marathon in July, Lineville Gorge and Spring Maid in August, Blue Ridge Relay in September and the New River 50K in October. I hope to get up to VA and spend a weekend on the Iron Mountain trail as well.

That and all the vacation and work time will pretty much consume the the year. A disappointment on the boat end. I am letting myself down here but the running is a big stress reliever and I need that outlet. The last issue is telling MFW about the run in November and figuring out someway to make it a fund raiser.