Sailing: The art of getting wet and becoming ill while slowly going nowhere at great expense.

Monday, August 1, 2011

Bightwork


Before the new bow roller platform can be mounted I needed to finish it off with varnish. I had some other items I had stripped and sanded ready for varnish so it was worth while to do them all at the same time. The two dorade boxes and lids, two winch mounts and a stern light mount. In the picture you can see the Sapele and Teak are not that for off in color, only in grain.

I continued with the same formula that has served me well on the toe rails and mast restoration. The first coat is an Epifanes Rapid Coat with a teak tint, light sanding then 5-7 coats of Epifanes Woodfinish Clear Gloss Varnish. This has worked out well timing wise because it is still too hot to spend more than 30 min on the boat at a time. I did have enough time this past weekend to template and cut out a new galley bulkhead skin (1/8") and will sand on it a bit more before applying. Working out the clamping and installation took longer than making the piece fit.

Friday, July 29, 2011

Bits and Pieces


This week was lots of work in the shop fixing, making and tweaking. I rebuilt the Whale Gusher manual pump. I can't imagine it was original but it easily was 30 yrs old. Removed it and stripped it down then sand blasted the aluminum casing. A new coat of paint inside and out, a rebuild kit with new flappers and diaphragm. Even made a new handle top out of a golf ball. Pictures showing before, after and the rebuild kit. It was previously installed in the Starboard cockpit lazarette. I don't think this is a good location. I wouldn't want to be pumping out with the entire lazarette open to the elements. It is recommended that a manual pump be located below where you can close the hatch and pump her out. I think it's new location will be on the new engine compartment side wall on the starboard side, through the open bulkhead. This way it won't be visable all the time and you will be able to sit on the berth and pump.

Got to work on the new mounting and backing plates for the lifeline stanchions. Previously they were mounted on a teak base on top of the teak deck. Both of which are gone now, a piece is in the picture below on the far left as a comparison. Overall thickness was about 3/4", 3/8" for the base and 3/8" for the teak deck. The new polypropylene thermoplastic composite bases I made from scrape race car splitters and are 1/2" thick. These will be painted the same color as the deck. The backing plates are 1/4" aluminum. There were no backing plates prior so this will be an improvement.

There was some final tweaking of the roller platform and placement of the rollers. Now it is time for varnish then mounting. Still mid to upper 90's so I'm staying off the boat and in the basement work shop.

Monday, July 25, 2011

Bow Roller Platform


So my two bow rollers arrived after much debate (internal) on which two styles to get. I know that I will have different ground tackle requirements for lake sailing vs ocean sailing so I wanted a combination of rollers that could accommodate fluke style, plow style and claw style anchors in different combinations. The two Lewmar rollers I have now seem to fit the best and will give me a good balance for primary and secondary anchoring.
The new platform has been formed from a nice piece of Sapele that I finally committed to cutting after exhaustive cardboard template work and rework. First it had to fit the boat in size, scale and proportion. Then it had to fit in the for-triangle between two line chocks and over the for-stay bracket. When the rollers arrived it then had to be reworked to accommodate them and finally they had to be positioned so the blades on the two different anchors could store and deploy side by side in harmony.
The mounting will be finalized this week with a custom 3/8" aluminum backing plate, then 5 coats of varnish and coring and sealing the mounting holes. Once that is done then an anchor chain pipe installed through the deck to the for-peak chain locker. The rest of this past week was spent making all the custom aluminum backing plates for the life line stanchions. It has been too hot to be in the boat finishing up the galley work.

Monday, July 18, 2011

Galley Work


I thought I was done with bulkhead replacements. I switched over to working on fixing up the Galley cabinetry and only planned on some minor touch up. Of course once I started to remove things to get at the cabinet work the hidden stuff all crumbled and replacemrnt was the only option. The issue was I had not planned on this and was running out of marine grade plywood.

This technically is not evern a bulkhead other than it does run to the underside of the deck but really just forms the side of the galley cabinet. The PO had covered up most of the ills with some P-lam that once removed showed a lot of bondo work trying to extend the life of bad plywood. I was able to salvage the stove enclosure which was still good and all the hardwood trim but the rest and it's failed tabbing had to go.

Once removed I made cardboard templates and tried to fit them onto what remaining 3/4 marine ply I had left. At $100/sheet I did not want to buy another. I squeezed it onto two pieces whose joint can be hidden behind some seat supports. Not ideal but not really a structural member either. To finish it off I really need a piece of 3/16 ply veneer to cover it all.

I also did alot of work repairing all the cockpit seats/locker covers that had failed. The repair was with thickened epoxy and fiberglass to strengthen and some SS corner braces. The teak needs to be cleaned and sanded on all the pieces and the least bit of teak left in the cockpit but that will come later. Big news this week was the arrival of the bow rollers. More on that later.

Friday, June 24, 2011

Tabbing


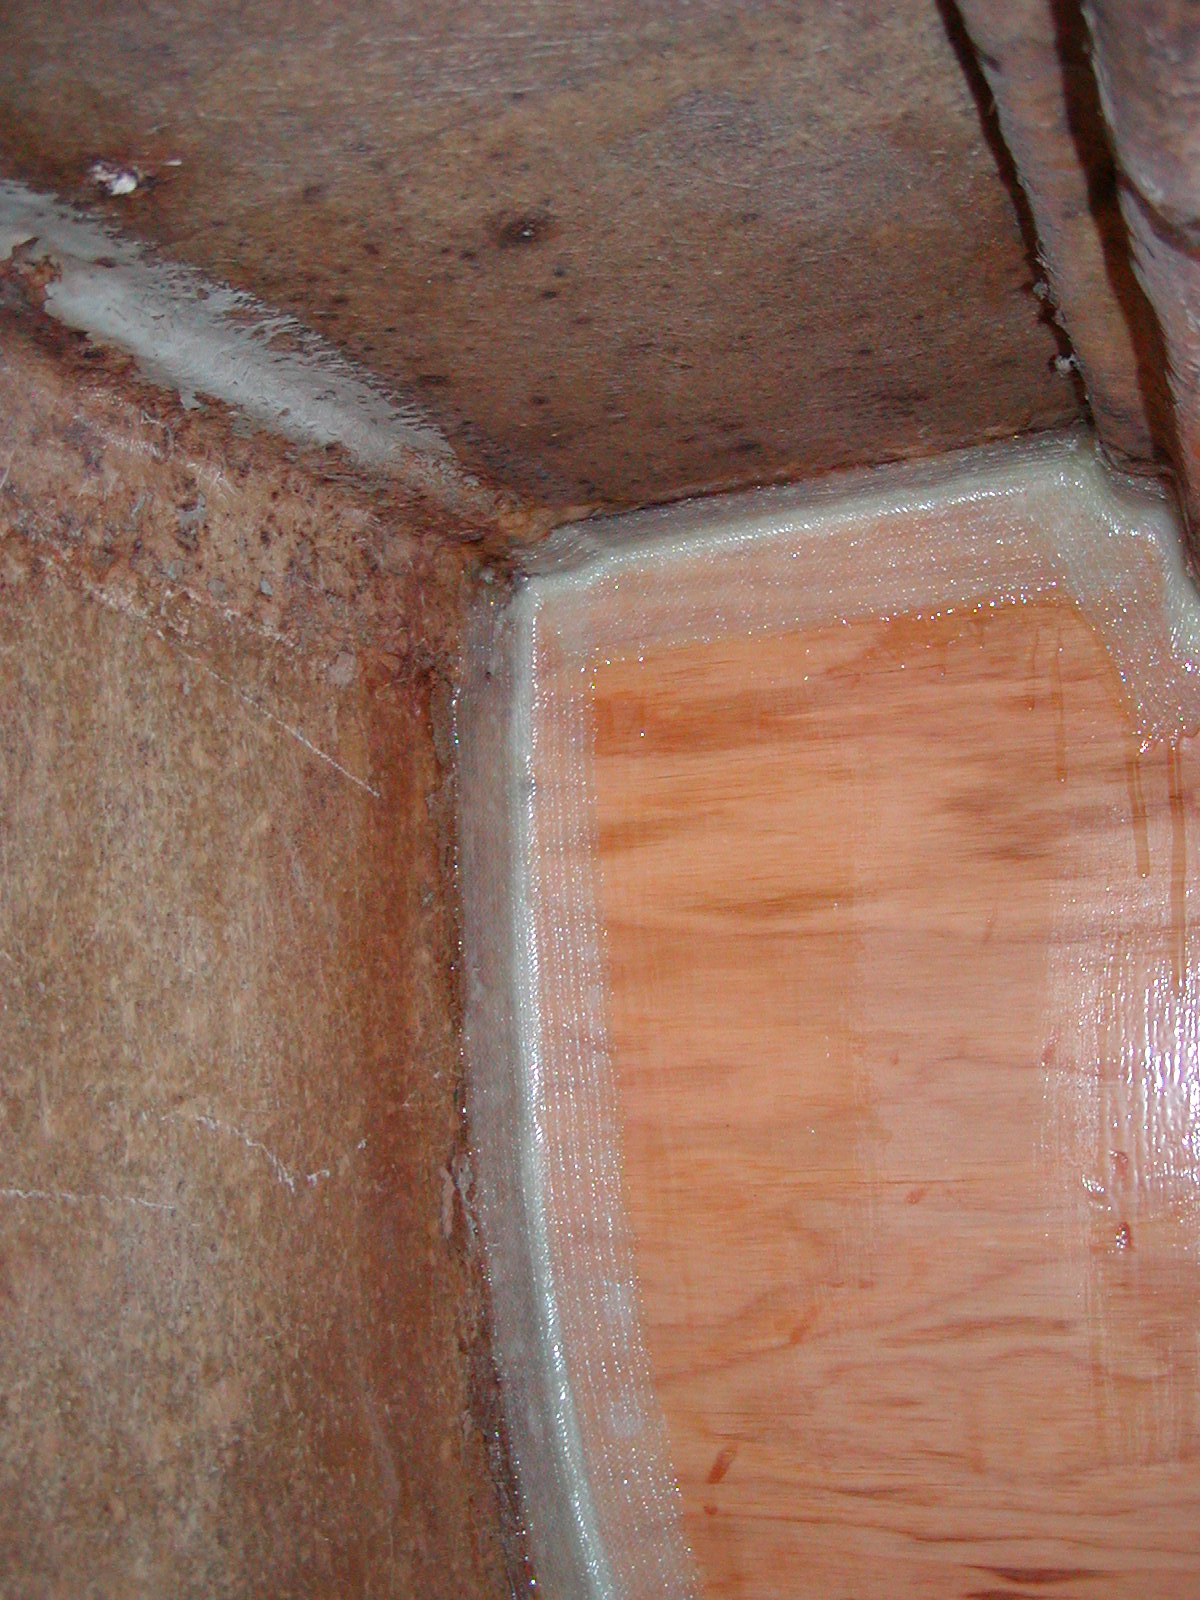
Starting in on the tabbing this week. It has been very hot and uncomfortable so I have not had too much time aboard. Tabbing is the process of overlaying the fillets with strips of fiberglass to adheare and strengthen the attatchment of the builkheads to the hull or deck. The joint is cleaned, sanded and prepped as needed. The strips are cut to length and then saturated with neat epoxy resin. Once they are fully wetted out you wet out the joint and apply the fiber glass. A disposable brush is used to help it adhere and apply more epoxy where needed. When you are really good you can apply successive layers when the epoxy is hot (kicked) but not cured to get a better bond. Otherwise, like me, you wait till it cures, come back and whipe off the epoxy blush with solvent and sand down for the next layer. Everyone has their own process but I like a fillet covered by a 3" strip and then a 6" wide strip of biaxial fiberglass cloth on the primary structural joints. Minor cabinetry elements I will glass in with only one layer over a fillet.

Monday, June 20, 2011

Final Bulkhead


This weekend allowed me to finish up the bulkheads and cut to fit the final bulkhead that I will be replacing. The others were sealed with epoxy and sanded down. It is 3/4" marine grade plywood but a coat of epoxy, especially on the end cuts will help a lot. These were all set and filleted in place. This week I will will tab them in, both sides with 16oz bi-axial fiberglass cloth 6 " wide.

The final bulkhead which replaces the old one that had the ice box access has been cut, trimmed and fitted. This week I will seal with epoxy but not put in until all the other tabbing is done to allow access. The cut out is 16" x 16" so in theory i can get in to set the back side with fillets and tabs when set in place. It came out quite well with a nice rounded over edge on the cut out. Always risky using a router on plywood but the marine grade was a lot tighter than regular.

The final two partial bulkheads are not really bulkheads at all. They are part of the galley cabinetry support. They have delaminated but I will just fix and apply a 1/8" veneer to clean up.

Thursday, June 16, 2011

Back Inside: Bulkheads


Continuing on the inside cabin reconstruction over the last two weeks. The starboard side bulkheads and engine compartment have all been roughed out of 3/4 marine grade plywood. This weekend I will start tabbing them in after sealing with a thin coat of epoxy. The final bulkhead is roughed in but I won't be able to fit until the others are tabbed in to get a good fit. This last one will have a large center section cut out to access the area for storage but also allow me to access the backsides for tabbing. I could get at it from the Ice box lid above in the cockpit but I would need a longer arm. The thought is that even tough I removed the inadequate built-in ice box, I may use this open storage space to be able to slide in a conventional cooler that can be accessed from the cabin or the cockpit. From the cockpit you would have to lift two lids but it will keep thing colder, longer.

The other aquisition this week was a wonderful piece of Sapele, a more readily available Mahogany substitute. Just as dense with some exotic grain but a little bit less intense in color and pattern. The piece I have is a solid 2 inch thick, 14" wide and 30" long. This will be my new bow platform. This boat has never had a bow roller platform or a bow roller for that matter. I plan on upgrading all the ground tackle as it only came with an 8 pound Danforth. On the platform I plan to carry a 22lb Claw (Bruce) and a 35lb CQR. I have laid it out on a drawing but now really need the actual rollers and anchors to finalize before cutting. Unfortunately ground tackle is not cheap so i may spread the $1,200 over a couple of months to soften the blow. When I am done it should look something like this: