
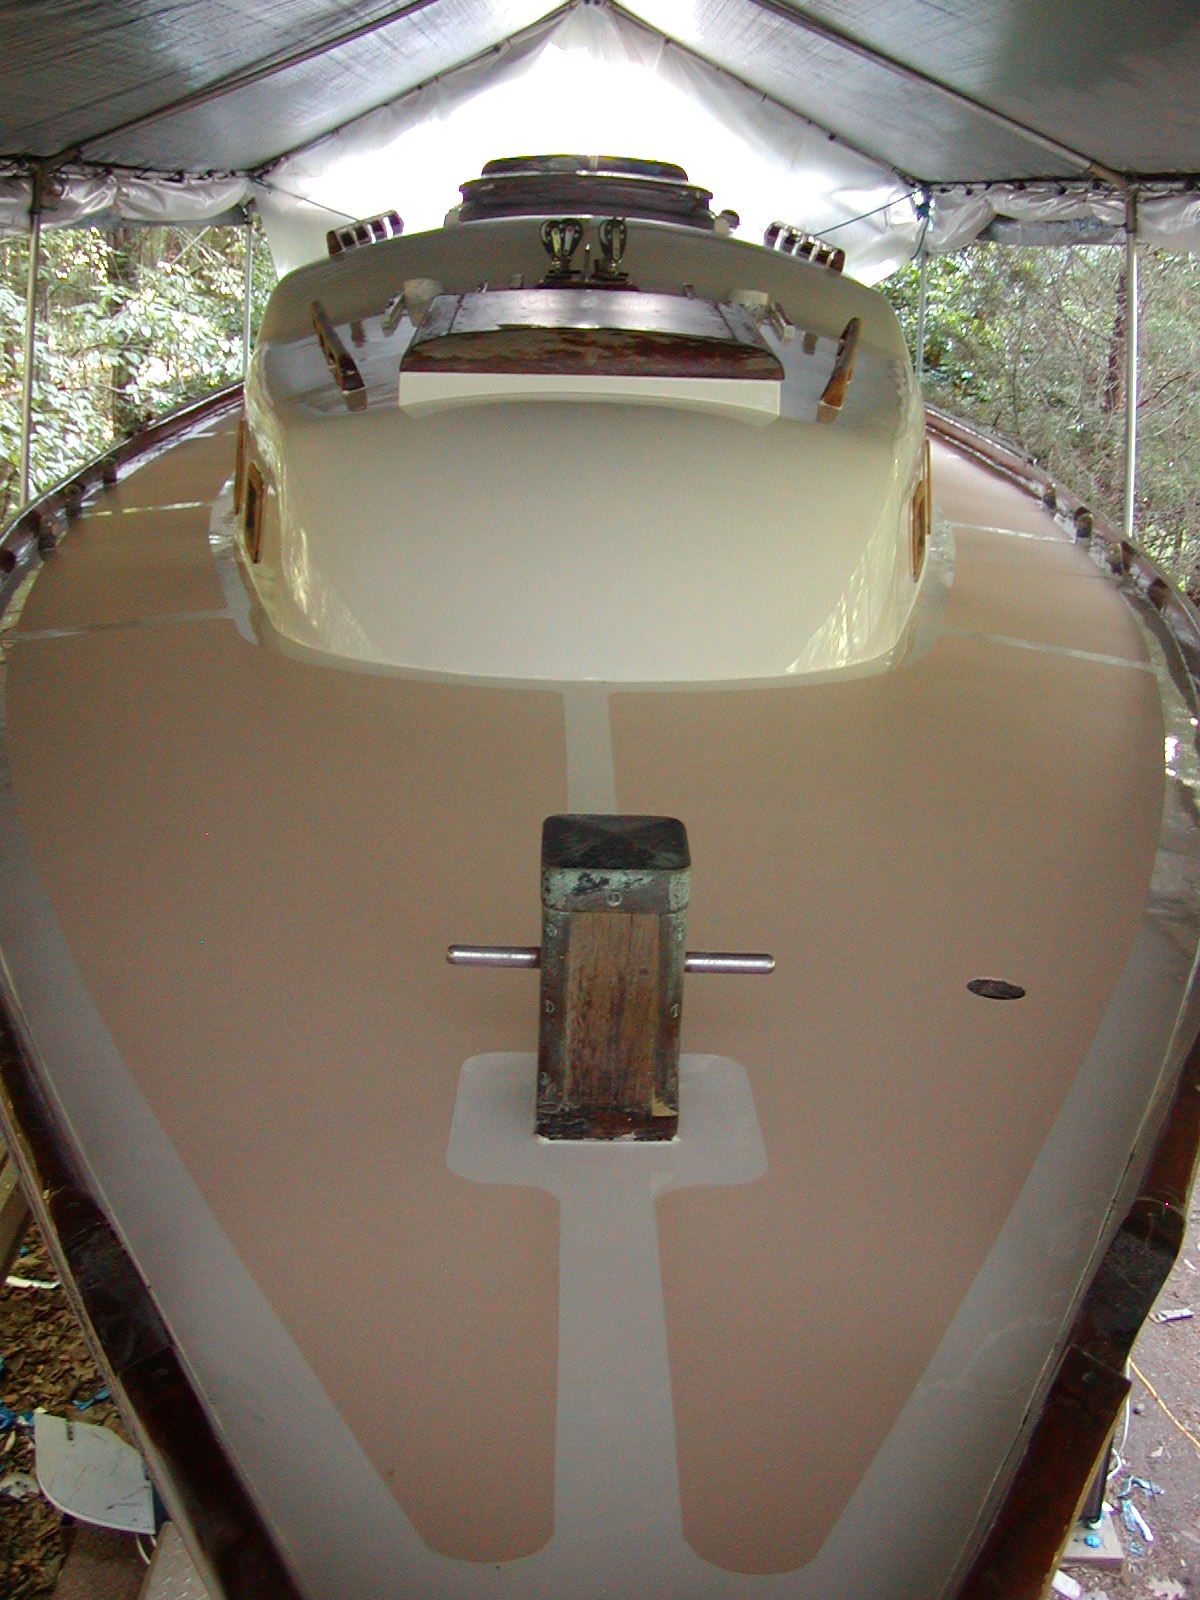
The final applications of non-skid paint on the port and starboard sides and the the entire bow area. I think I will ad some around the mast area at a later date but want to see where that will go based on activity around the mast. I will let everything cure for a week or two. This is a huge milestone that closes the chapter on an entire redeck and recore. This boat used to be covered in teak decking which was attached with 2,000 screws. This allowed water to migrate down into the core that is sandwiched between the two layers of fiberglass and provide strength without too much weight. My deck after sitting under cover for a year had dried out enough for me to realize I had a very spongy deck which I almost put my foot through. Very bad.
The entire deck had to be removed. With all the teak gone, the thought was to inject epoxy into the 2000 little holes and let it stiffen back up. This would add a lot of weight up high but I didn't think it would be that bad. After the first $100 worth of epoxy was injected and I had only covered a 2 square foot area, this was proving to be a bad plan. A little research indicated the only way to do the job properly was to cut the entire
 top layer of fiberglass, 1/4" thick, off. This then exposes the core and it can be removed. This I did saving the skins to relaminate back on. The core was just mush and I relized that injecting all the epoxy I could afford would not have fixed the problem. New end grain balsa was set in with epoxy then the top skins were set back on with thickened epoxy and held down with weights.
There were still some voids that were filled from the top by injecting epoxy
 into old and new holes and lots of sounding with a hammer to make sure everything was solid. Then the seam where the fiberglass skin rejoined had to ground out and widened then infilled with fiberglass and epoxy layers to strengthen the joint. Then the fairing and filling started all around. This took the longest time (2 years) as it is very labor intensive and very boring. You can never really be done with this part as there are always areas that could be better. Then finally it is prime, sand, wash three times, paint 3 times, then mask and paint the non-skid. Looking back over the pictures it looks a lot easier than it was. Going to take a break and then go back to work on interior. Have 3 more bulkheads to replace then paint the insides and bilges.


